August 14, 2026
Replacing old or energy-inefficient glass units can dramatically improve indoor thermal comfort, exterior curb appeal, and overall building efficiency across your residential property. A successful window replacement project requires clear planning, proper property preparation, and open communication with your chosen installation team from start to finish. Navigating this home upgrade becomes straightforward and stress-free when you know exactly what each individual project stage entails. From the preliminary home evaluation to the final quality walk-through inspection, every step plays a vital role in achieving a durable, high-performing result.
Begin Your Initial Consultation
The project starts with an in-home visit to evaluate your current setup and discuss your specific aesthetic and functional goals. During this meeting, a qualified consultant inspects existing frames, assesses glass condition, and identifies structural considerations, water damage, or air drafts. This preliminary assessment establishes a solid baseline, ensuring all subsequent product recommendations fit the architectural requirements of your dwelling.
You will also explore decorative preferences, functional expectations, frame materials, and financial parameters during this detailed conversation. Expressing your specific priorities helps the specialist propose tailored products, decorative hardware choices, and installation strategies that align with your vision. Taking time to ask detailed questions during this meeting establishes clear expectations and ensures a transparent, collaborative working relationship throughout the project.
The specialist outlines preliminary pricing structures and realistic project timelines based on your selected product choices and installation scope. Reviewing these initial estimates gives you complete clarity regarding potential investment levels, labor schedules, and primary project milestones. This foundational step eliminates future misunderstandings and paves the way toward crafting a formal contract that aligns with your household budget.
Choose Your Ideal Products
Selecting the right products involves carefully evaluating frame materials, operation options, and modern energy performance features. Popular options include casement, slider, bay, awning, and single-hung styles, each offering distinct advantages regarding ventilation, maintenance, and visual appeal. Data indicates that installing a single-hung unit smaller than 10 square feet takes between 30 and 60 minutes on average, according to HomeGuide.
Thermal efficiency remains a major priority when evaluating different glass packages and frame materials for your property. High-performance options utilize specialized low-emissivity coatings, insulating gas fills, and durable composite or vinyl framing to minimize daily thermal transfer. Homeowners often find that a total window replacement enhances both energy efficiency and curb appeal while reducing overall household energy demands throughout the year.
You should also examine detailed warranty terms and manufacturer guarantees before settling on a specific product line for your property. Comprehensive warranties protect your investment by covering material defects, glass seals, operating hardware components, and structural integrity. Evaluating these guarantees ensures lasting peace of mind and guarantees that your selected products deliver long-term value, protection, and dependable performance.
Finalize Your Project Specifications
Once you select your preferred styles, technical specialists take precise measurements of every window opening across your home. Exact dimensions are vital because custom-built units must fit snugly into existing structural frames to prevent air leaks, water infiltration, or structural gaps. Accurate measurements are vital before ordering custom materials for any window replacement effort.
After confirming physical specifications, you will review the complete purchase order with your representative to verify all project details. This documentation details frame colors, hardware finishes, grid patterns, glass types, screen options, and specific delivery expectations. Checking these specifications carefully prevents manufacturing delays and ensures every manufactured unit matches your aesthetic preferences and functional requirements.
Manufacturing custom units requires dedicated production time, which varies based on factory schedules, material availability, and supply chains. Your contractor will keep you informed regarding production progress, component shipping schedules, and estimated job delivery dates. Signing the finalized purchase agreement locks in your order details and officially moves your project into the active manufacturing phase.
Prepare Your Home Environment
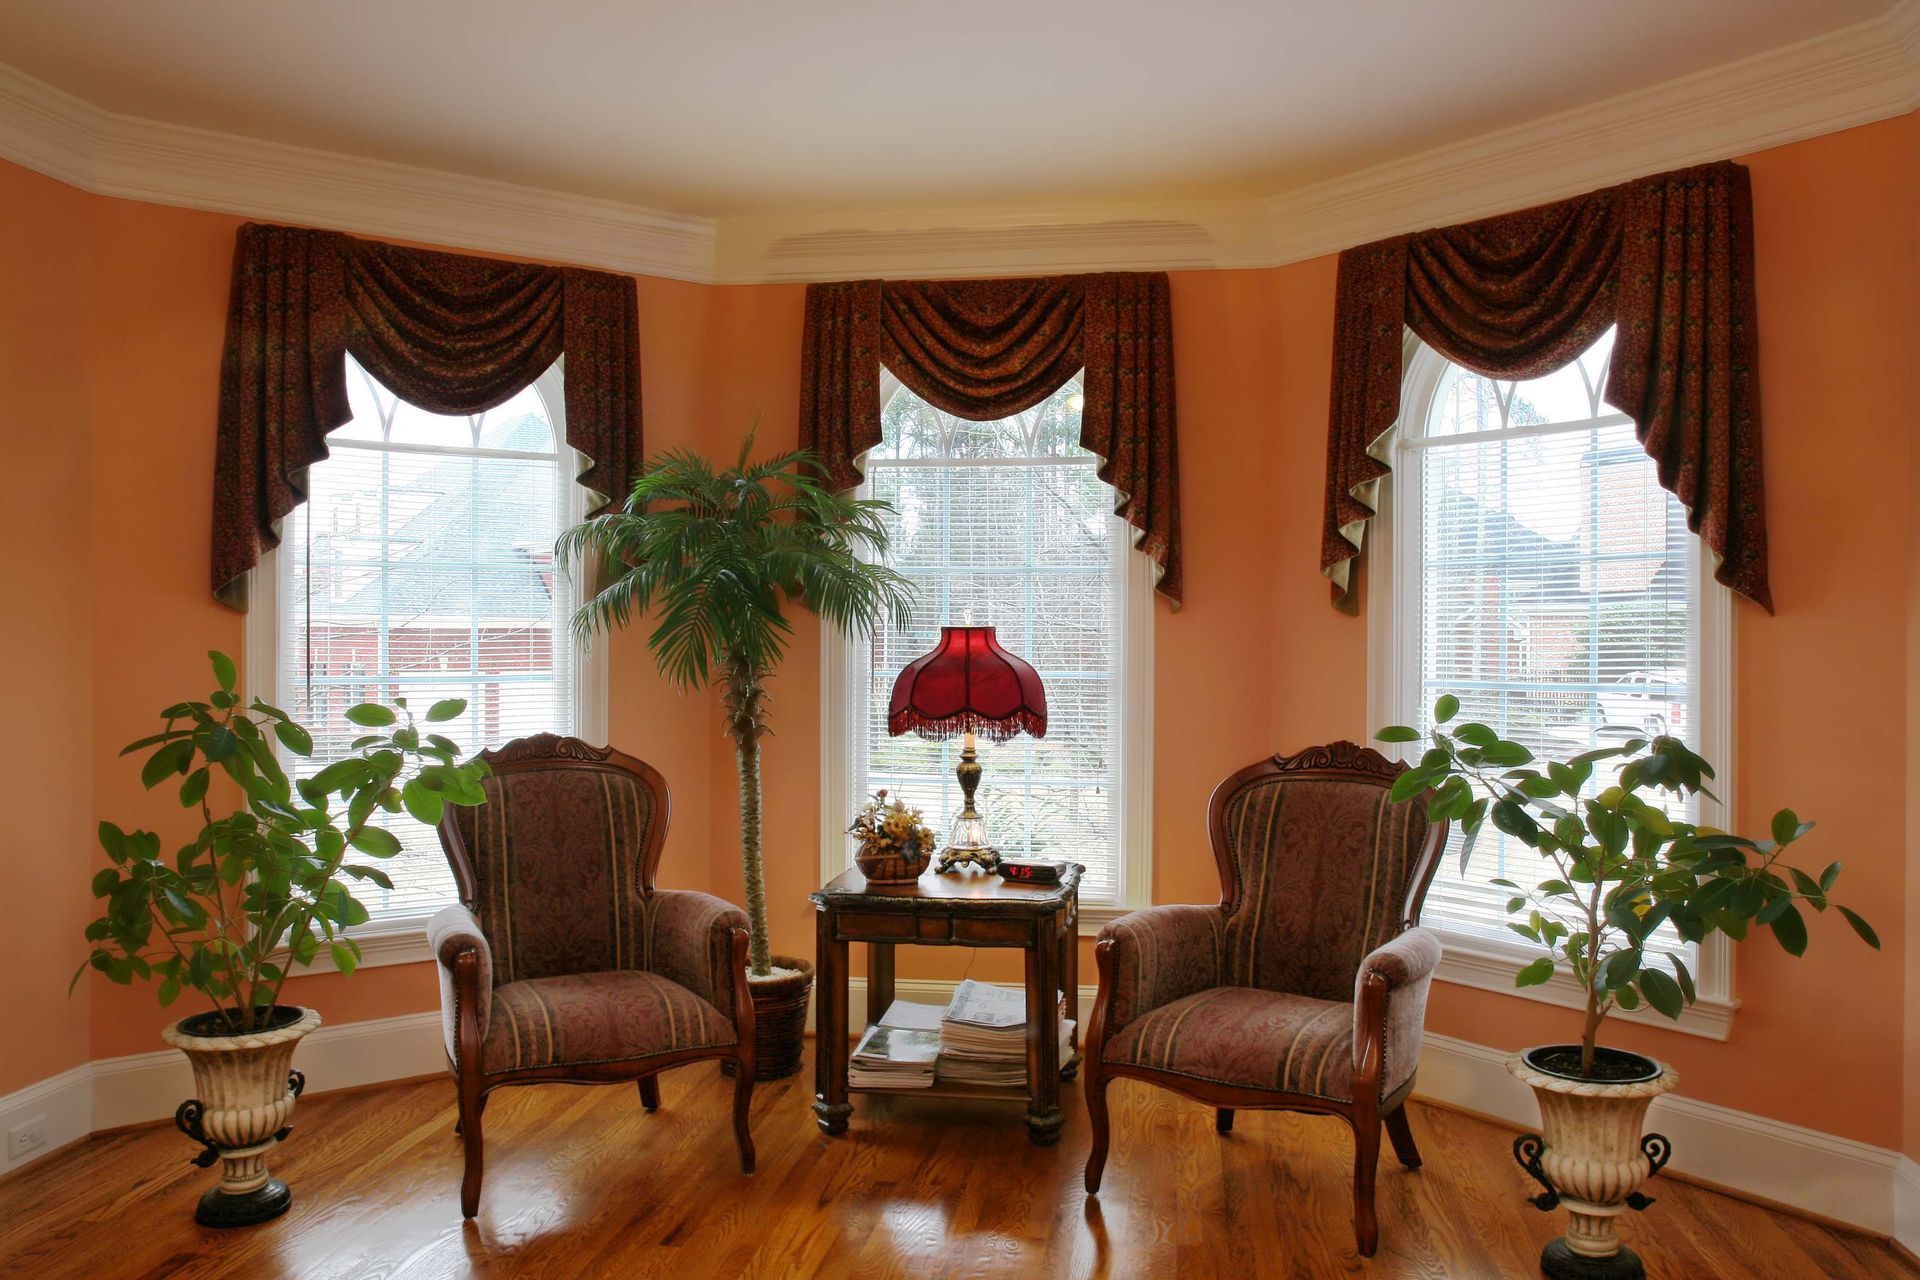
Before the installation crew arrives on site, preparing your living space ahead of time ensures that the window replacement team can work efficiently. Moving indoor furniture, removing custom window treatments, and clearing a path around work zones allow technicians to navigate safely around your property. Taking these preliminary steps protects your personal belongings while accelerating the overall pace of the installation process.
Protecting your interior living space is equally important during active construction work inside your home environment. Placing clean drop cloths over flooring and covering nearby furniture shields your interior spaces from dust, debris, and stray construction materials. Simple indoor preparations help preserve household cleanliness and create a safer environment for workers, family members, and pets alike.
External prep work also contributes to a fast, safe, and smooth installation process on the designated day of service. Clearing outdoor landscaping, trimming nearby branches, moving patio furniture, and unlocking perimeter gates provide clear exterior access to every opening. Coordinating these workspace preparations with your installation crew creates a seamless transition from preparation to active labor on installation day.
Oversee the Installation Day
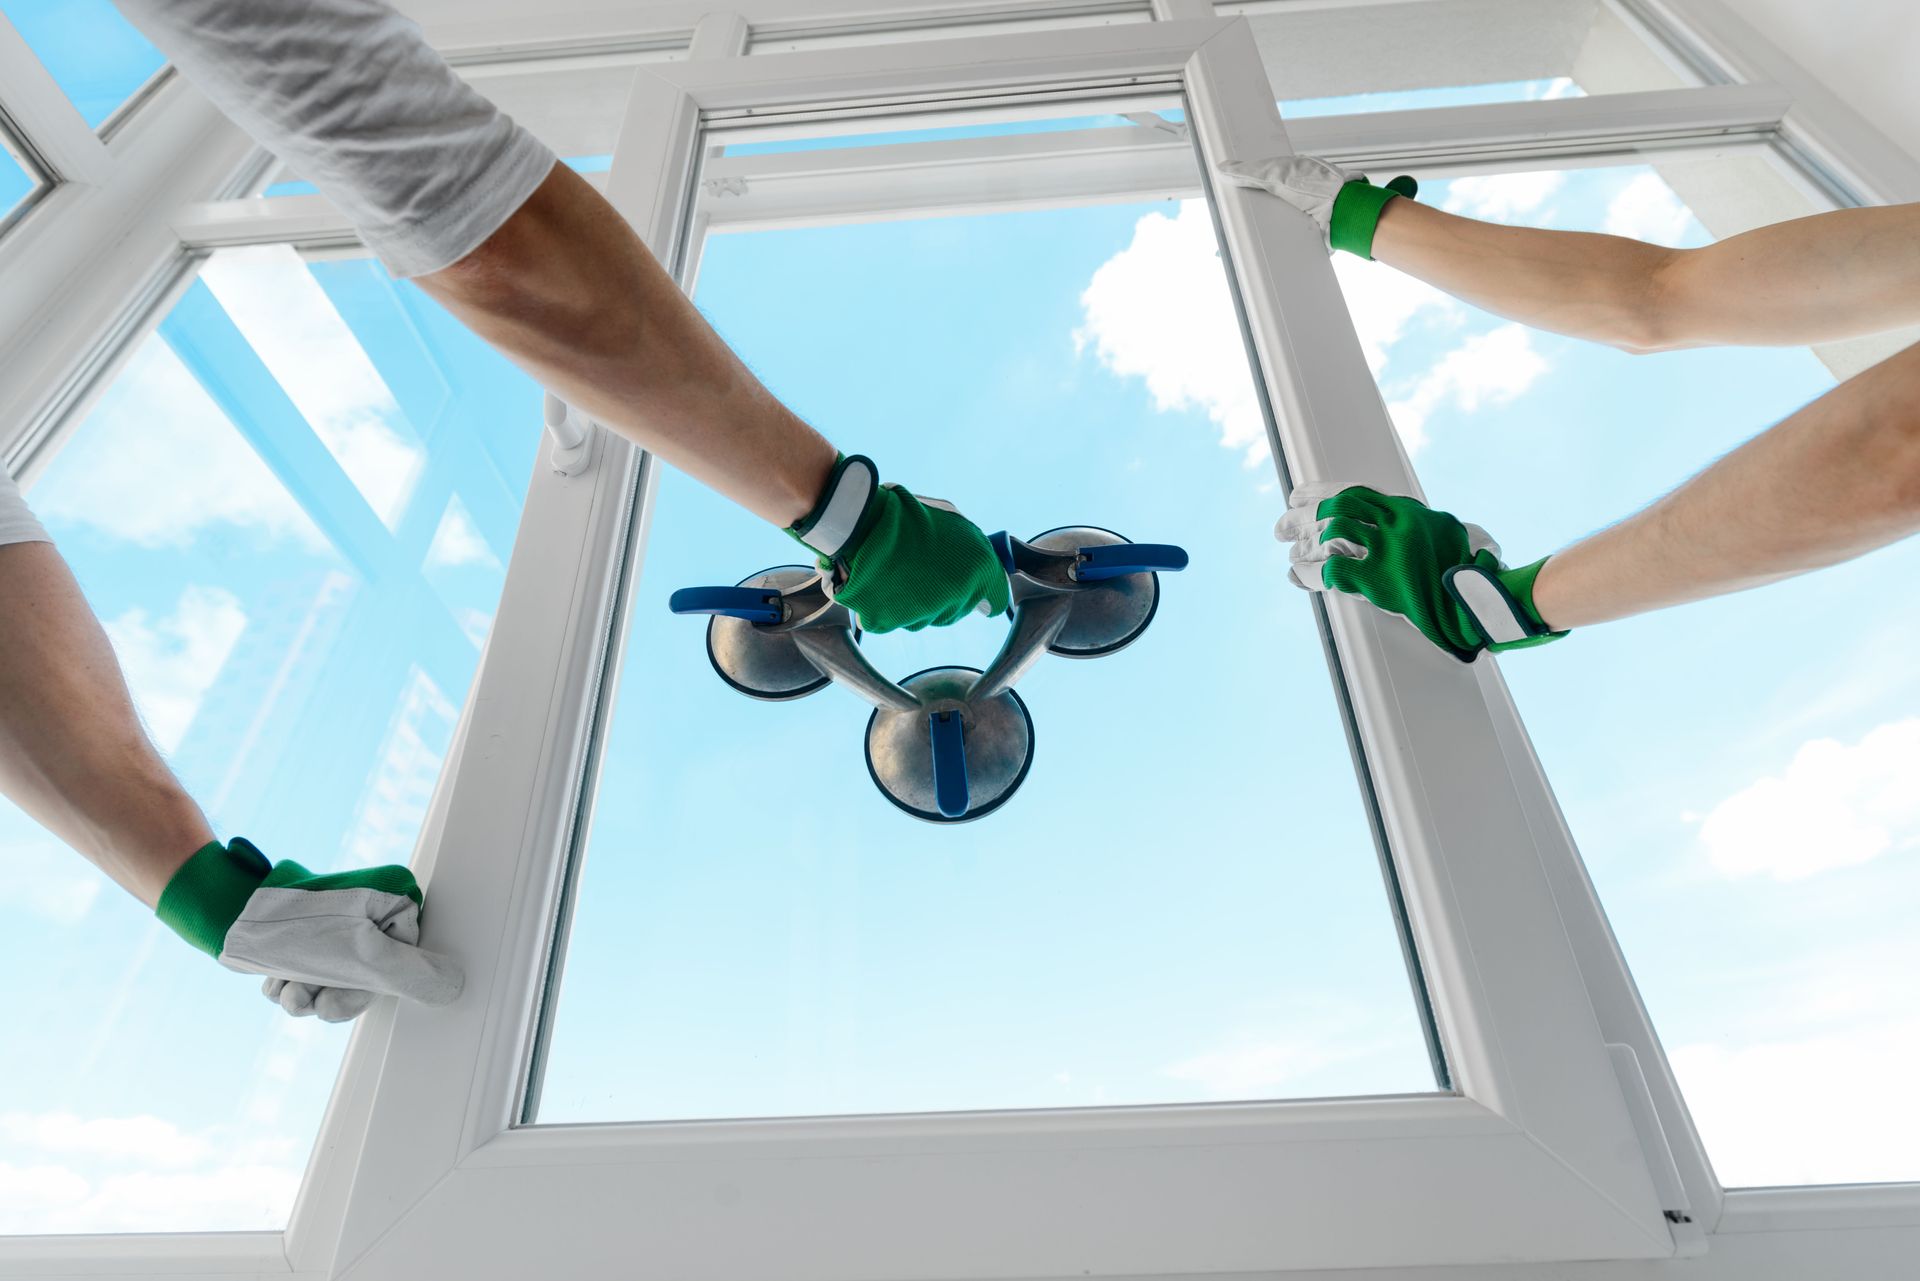
Installation day begins with the crew arriving promptly on site to remove existing frames and prepare opening boundaries safely. Technicians carefully extract old materials to avoid damaging surrounding interior drywall, exterior siding, or decorative trim packages. Proper removal techniques preserve structural integrity and ensure that new frames seat properly into existing rough openings across your home.
The installation team then sets new units, levels each frame, and secures them tightly within the house structure. Understanding the duration of the installation helps keep your entire window replacement schedule on track throughout the day. Technicians apply weatherproof insulation, exterior flashing, and heavy-duty sealant around all frame edges to guard against moisture intrusion and air leakage.
After securing every unit, workers perform meticulous detail work to finish the installation cleanly, securely, and professionally. They apply interior trim, adjust operating hardware, test locking mechanisms, and clean glass surfaces to ensure flawless daily operation. A thorough cleanup follows, with workers collecting old materials, sweeping job sites, and disposing of construction debris responsibly.
Complete Your Final Walkthrough
The final phase of the project involves conducting a comprehensive walkthrough with your lead installation contractor. Together, you will inspect every installed unit to verify smooth operation, proper locking mechanisms, tight weather seals, and immaculate aesthetic finishing. This detailed inspection ensures every single detail meets high-quality standards before final project sign-off and completion.
Your window replacement installer will also explain proper operating procedures, routine maintenance protocols, and recommended cleaning methods for your new products. Learning how to clean glass surfaces correctly and maintain operating hardware preserves smooth functionality and extends overall product life. Understanding warranty claims procedures also equips you to protect your home investment for many years to come.
Conducting this thorough inspection provides confidence that every component functions properly and looks beautiful throughout your home. Verifying every aspect of the project alongside your installer allows you to resolve minor adjustments immediately before the team leaves your property. Completing this final review officially concludes the physical work on your property, leaving you ready to enjoy your upgraded living environment.
Investing in high-quality home upgrades transforms your living environment, elevating everyday comfort, home security, and overall property value. Partnering with an experienced installation team makes the entire window replacement process rewarding, predictable, and stress-free. Our team remains dedicated to delivering superior craftsmanship, clear communication, and outstanding results for every homeowner. Contact us today to schedule your consultation and let our team at Jules Poirier Company LLC upgrade your home.